Introduction
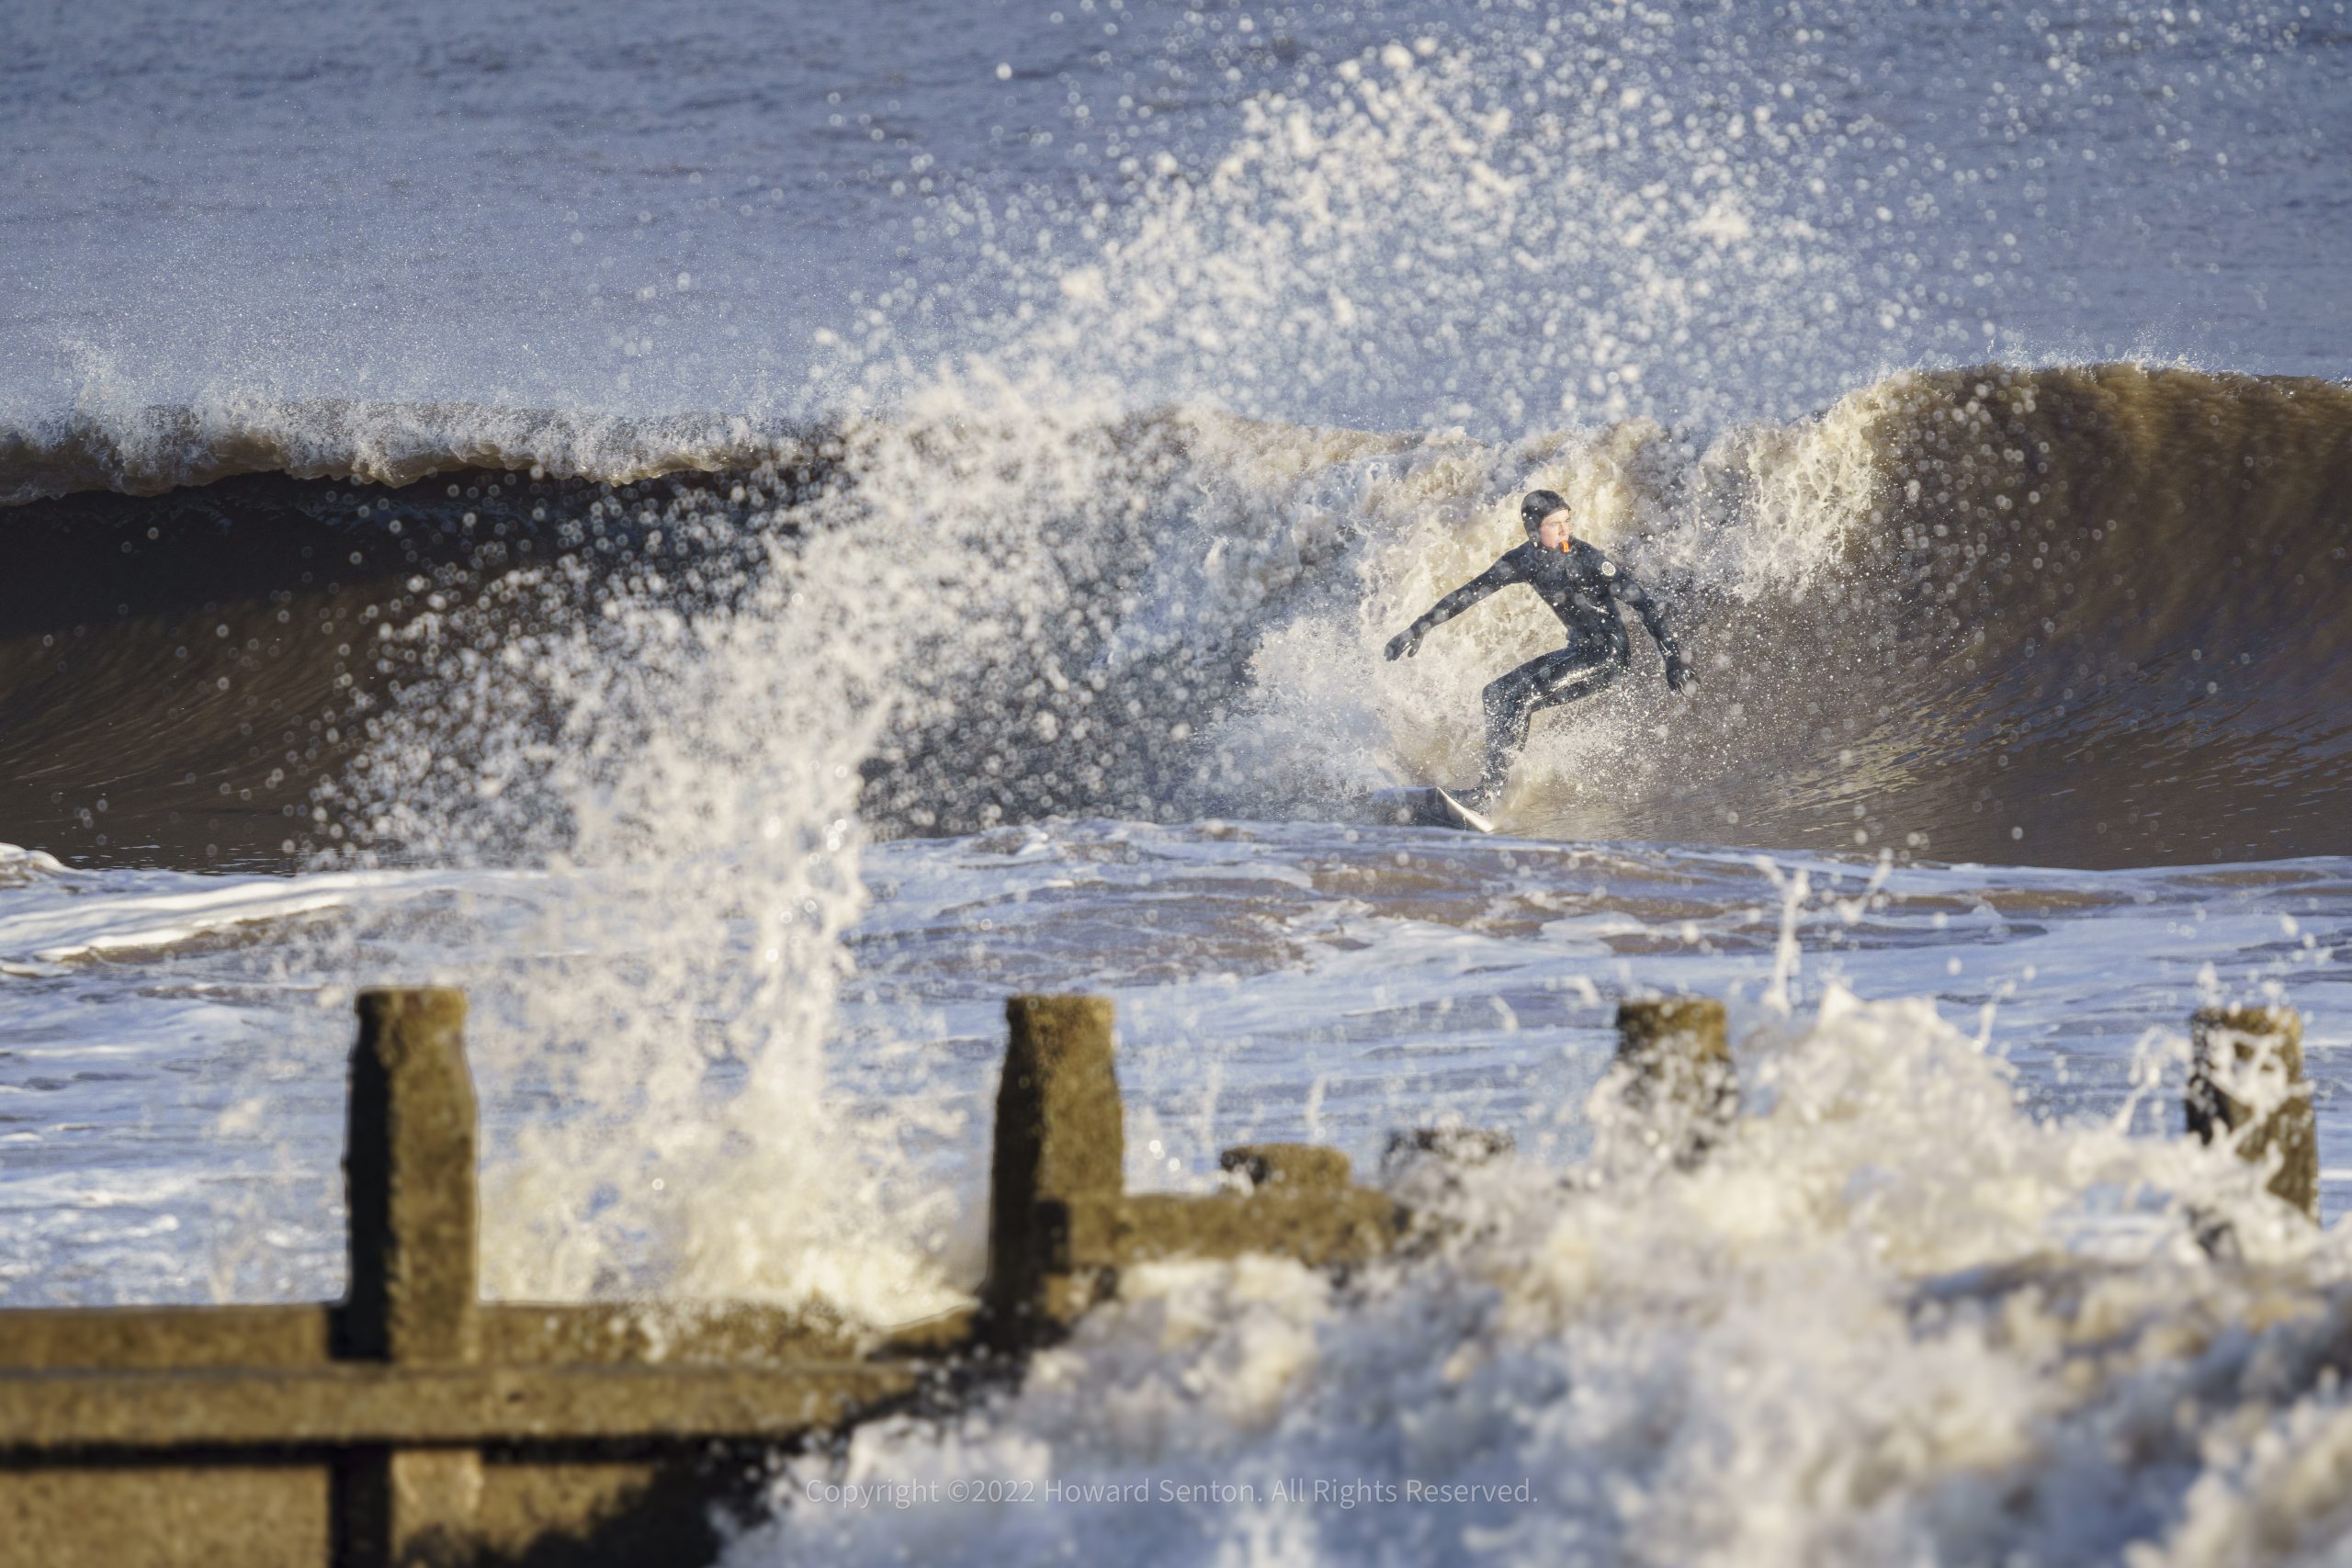
Surf photography is about more than taking pictures of people riding waves. It is about capturing the power of the ocean, the atmosphere of the coastline, the personalities in the lineup and that one split second when everything comes together.
Whether you’re photographing your first surfer from the beach or swimming into the impact zone with a water housing, this guide will help you improve your surf photography.
1. Understanding Surf Photography
There are several different styles of surf photography:
Beach Photography
The most accessible way to photograph surfing. You can stay on the beach, cliffs or promenade and use a telephoto lens to get close to the action.
Best for:
- Beginners
- Action shots
- Competitions
- Surf schools
- Large waves
- Long-distance breaks
In-Water Photography
Photographing from inside the sea gives a completely different perspective. You become part of the action and can capture images impossible to get from land.
Best for:
- Close-up action
- Barrel shots
- Water-level perspectives
- Lifestyle photography
- Creative images
⚠️ Always understand the conditions before entering the water with expensive camera equipment.
Lifestyle Surf Photography
Surfing isn’t just about riding waves. Some of the best photographs happen before and after the session.
Look for:
- Surfers checking the waves
- Waxing surfboards
- Walking down to the beach
- Carrying boards
- Getting changed
- Friends talking in the car park
- Sunrise sessions
- Sunset sessions
- Coffee after surfing
These images help tell the complete story.
2. Choosing the Right Camera
You don’t need the most expensive camera to take great surf photographs.
A camera with these features is useful:
- Fast autofocus
- Good burst shooting
- Weather resistance
- Good performance at higher ISO
- Fast shutter speeds
- A telephoto lens
For a Sony APS-C photographer, a setup such as a Sony A6700 with a 200–600mm lens can be excellent for photographing surfing from the beach.
A smaller lens can be better when you’re walking long distances or photographing closer breaks.
3. Choosing the Right Lens
Telephoto Lens
A telephoto lens allows you to isolate surfers from the background and fill the frame with the action.
A longer lens is useful when:
- The break is far offshore
- You are photographing from cliffs
- The waves are large
- You want close-up action
Medium Telephoto
A medium telephoto is useful for:
- Closer breaks
- Lifestyle images
- Groups of surfers
- Environmental portraits
Wide-Angle Lens
Wide-angle lenses are ideal for showing the environment.
Use them for:
- In-water photography
- Beach scenes
- Surfers close to the camera
- Dramatic skies
- Sunrise and sunset
4. Camera Settings for Surf Photography
There is no single perfect setting, but these are good starting points.
Shutter Speed
For sharp action shots, start with:
1/1000 second
For faster action or water spray:
1/1600 – 1/2500 second
For creative motion blur:
1/30 – 1/250 second
The slower the shutter speed, the more movement you will capture.
Aperture
A good starting point is:
f/5.6 – f/8
This gives enough depth of field to keep the surfer reasonably sharp.
For portraits and lifestyle images:
f/1.8 – f/4
can help separate the subject from the background.
ISO
Try to keep ISO as low as possible while maintaining a fast enough shutter speed.
On darker days, don’t be afraid to increase ISO if necessary. A sharp photograph with some noise is usually better than a blurry photograph.
5. Autofocus Settings
Surfing is fast and unpredictable, so continuous autofocus is essential.
For Sony cameras, start with:
- AF-C
- Continuous autofocus
- Subject tracking
- Zone or flexible spot focus
- High-speed burst shooting
Practice following the surfer before they stand up. Try to pick up the surfer as they paddle for the wave and keep tracking them through the ride.
6. Learning to Read the Waves
One of the biggest skills in surf photography is learning what will happen before it happens.
Watch for:
- Where surfers are sitting
- Which direction the wave is breaking
- Where the peak is forming
- Where surfers paddle for waves
- Which section might become a barrel
- Where the surfer is likely to perform a manoeuvre
Don’t wait until the surfer is already performing the manoeuvre.
Anticipate the moment.
If you know where the section will form, you can already have your camera positioned and ready.
7. Capturing the Best Surfing Moments
Some classic moments to look for include:
The Take-Off
The first moment the surfer commits to the wave.
Look for:
- The surfer dropping down the face
- Spray from the rail
- A dramatic steep wave
Bottom Turn
Often one of the most powerful moments of a ride.
Try to capture:
- Body position
- Spray
- The curve of the wave
- The surfer looking towards the next section
Cutback
A good cutback can create dramatic shapes and plenty of spray.
Aerial
Use a fast shutter speed and try to capture the surfer clearly separated from the wave.
Barrel
Position and timing are everything.
Try to capture:
- The shape of the barrel
- The surfer inside the tube
- The exit
- Water spray and atmosphere
8. Composition
Don’t just put the surfer in the middle of every photograph.
Experiment with composition.
Leave Space in Front of the Surfer
Try to leave room in the direction the surfer is travelling.
This gives the image a feeling of movement.
Include the Wave
Don’t crop so tightly that the viewer can’t understand what is happening.
Sometimes the wave is just as important as the surfer.
Use the Environment
Include:
- Cliffs
- Piers
- Headlands
- Buildings
- Sunsets
- Storm clouds
- Other surfers
Environmental photographs can help show where the session took place.
9. Photographing Surf Schools
Surf schools can be a fantastic opportunity for surf photographers.
Rather than only photographing people standing on a board, tell the story of the lesson.
Photograph:
- The instructor introducing the lesson
- Carrying boards to the beach
- Warming up
- Learning how to paddle
- Practising the pop-up
- The first attempt
- The first successful wave
- Friends encouraging each other
- The instructor helping students
- Celebrating after catching a wave
One of the most important photographs for a beginner can be their first successful ride.
For many people, that photograph becomes a lasting memory of their first surfing experience.
10. Photographing Beginners
Beginners move differently to experienced surfers, so patience is important.
Don’t expect every wave to produce an action photograph.
Instead, capture the entire experience.
Look for:
- Determination
- Laughter
- Wipeouts
- First attempts
- Friends helping each other
- Moments of success
Sometimes the best photograph isn’t technically the best wave. It is the photograph that captures how the person felt.
11. Photographing Advanced Surfers
Experienced surfers give you more opportunities for action photography.
Look for:
- Powerful turns
- Big spray
- Airs
- Barrels
- Fast sections
- Body position
- Dramatic drops
Try to understand the surfer’s style. Every surfer has a different stance, posture and approach to the wave.
12. Group Surf Photography
Photographing groups requires a slightly different approach.
Make sure you get:
- Individual action shots
- Group photographs
- Friends surfing together
- Lifestyle moments
- Portraits with surfboards
- Photos from the beach
For a group session, variety is important. You want everyone to feel included.
13. Surf Shop Photography
Surf shops are another great opportunity for surf photography.
You could photograph:
- The exterior of the shop
- Surfboards
- Wetsuits
- Accessories
- Staff portraits
- Customers
- Surfboard repairs
- New products
- Local surf culture
These images can be useful for websites, social media and advertising.
14. Surf Brand Photography
A surf brand session can combine action, lifestyle and product photography.
You might photograph:
- Surfers using products
- Clothing on the beach
- Surfboards in action
- Wetsuits in the water
- Lifestyle images
- Product details
Always discuss with the brand what the photographs will be used for before the shoot.
15. Photographing From the Water
In-water photography can produce incredible images, but safety must always come first.
Before entering the water:
- Check the conditions
- Understand the currents
- Know where the rip currents are
- Know your exit point
- Check the tide
- Watch the waves for a while
- Never enter conditions beyond your ability
Use appropriate equipment, including a properly sealed water housing and any suitable flotation or safety equipment for the conditions.
Never let getting the photograph become more important than getting out safely.
16. Weather and Light
Don’t only photograph when the sun is shining.
Different conditions create different moods.
Sunny Conditions
Good for:
- Bright colours
- Clean water
- Fast shutter speeds
Overcast Conditions
Good for:
- Even lighting
- Moody photographs
- Reducing harsh shadows
Stormy Conditions
Good for:
- Dramatic skies
- Powerful waves
- Atmospheric photographs
Sunrise and Sunset
Excellent for:
- Silhouettes
- Golden light
- Lifestyle photography
- Environmental images
17. Editing Your Surf Photographs
Editing should improve your photograph, not completely change it.
A basic workflow might include:
- Choose the best images.
- Straighten the horizon.
- Correct exposure.
- Adjust highlights and shadows.
- Improve contrast.
- Adjust colour carefully.
- Crop for stronger composition.
- Apply sharpening.
- Export for the intended use.
Be careful with over-editing. Too much saturation, sharpening or clarity can make water and skin look unnatural.
18. Choosing Your Best Images
After a session, you may have hundreds or thousands of photographs.
Look for images with:
- Sharp focus
- Good timing
- Strong composition
- Interesting light
- A clear subject
- Emotion
- A story
Don’t just choose the photograph with the biggest wave.
Ask yourself:
Does this photograph make me feel something?
19. Creating a Surf Photography Story
A great surf photography collection should tell a story.
For example:
Arrival → Checking the waves → Getting ready → Paddling out → Catching waves → Action → Wipeouts → Friends → Leaving the beach
This works especially well for:
- Surf lessons
- Events
- Competitions
- Brand shoots
- Group sessions
20. Respect the Surfers and the Ocean
Surf photography is part of the surf community.
Respect:
- Local surfers
- Local surf etiquette
- Private events
- Sensitive locations
- People who don’t want to be photographed
If you plan to photograph a surf school, event or organised group commercially, always discuss permission and image usage beforehand.
Final Tips
The biggest improvements in surf photography don’t always come from buying new equipment.
Spend time:
- Watching the waves
- Learning local breaks
- Understanding tides
- Practising autofocus
- Anticipating manoeuvres
- Improving composition
- Photographing in different weather
- Editing consistently
Most importantly, keep shooting.
The ocean changes constantly. No two sessions are ever exactly the same, and sometimes the photograph you remember most is the one you almost didn’t take.
Remember
The best surf photograph is not always the biggest wave or the biggest manoeuvre. Sometimes it is the moment that captures what surfing actually feels like.
No responses yet