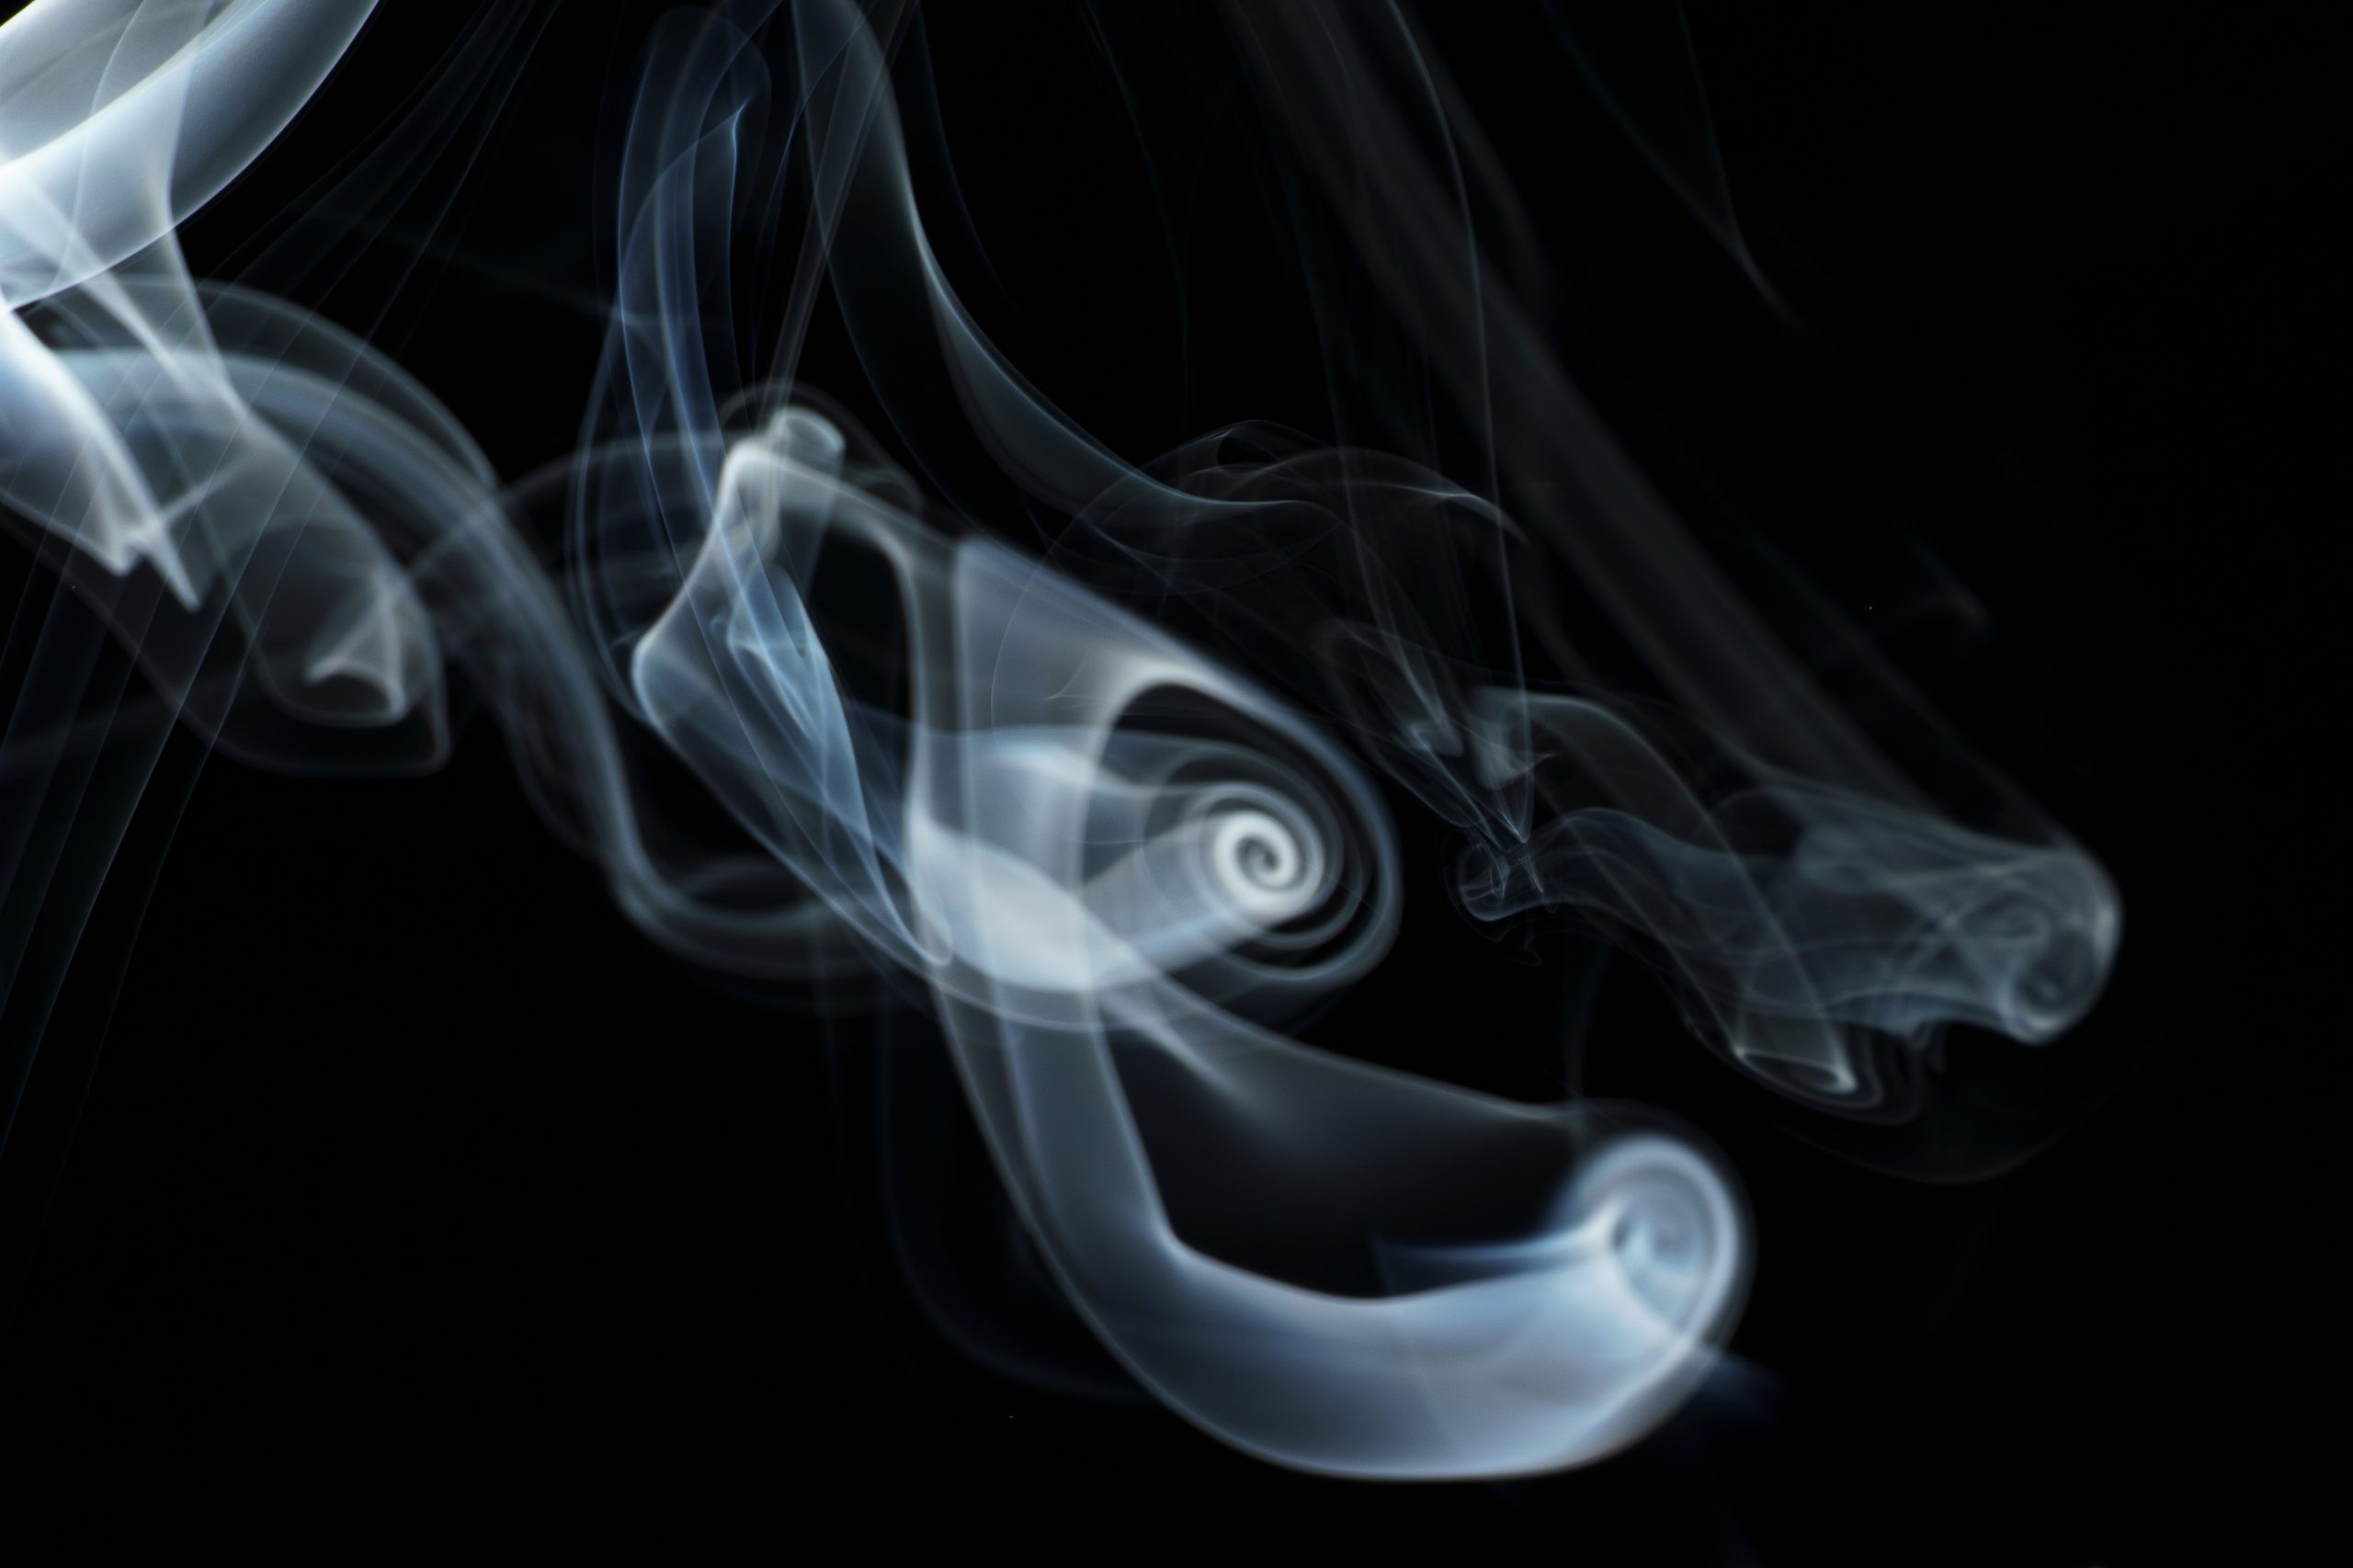
Smoke photography is a great way to create dramatic and unusual images without needing an expensive studio setup. With a black background, an incense stick, your Sony A6400 and a Godox AD200, you can create detailed photographs of swirling smoke that can be edited into some really interesting abstract images.
In this guide, I’ll show you how I would set up the camera and flash, the settings I’d start with, and some of the techniques you can use to create different smoke shapes.
What You Need
You don’t need loads of equipment to get started.
For this setup, you’ll need:
- Sony A6400
- Godox AD200
- Godox trigger compatible with your AD200
- Lens — the Sony 55-210mm works particularly well
- Tripod
- Light stand
- Black background
- Incense stick and holder
- Optional coloured gels
- Lightroom or Photoshop for editing
The most important pieces of equipment are really the camera, flash and something to create the smoke.
Why Photograph Smoke?
Smoke is constantly moving and changing shape, which makes every photograph slightly different.
You can capture:
- Spirals
- Waves
- Rings
- Clouds
- Abstract patterns
- Faces
- Animals
- Trees
- Flowers
- Dragon-like shapes
Sometimes you can even see recognisable shapes in the smoke that you weren’t deliberately trying to create.
This makes smoke photography a great project for experimenting with composition and lighting.
Setting Up Your Smoke Photography Studio
You don’t need a dedicated photography studio.
A spare room or dark corner of a room can work perfectly well.
Start by putting a black background behind where you are going to photograph the smoke.
This could be:
- Black cloth
- Black curtains
- Black card
- Black paper
- Even a black duvet cover
Try to keep the smoke as far away from the background as possible.
I’d aim for around 1–2 metres between the smoke and background if you have enough space.
This is important because it helps prevent your flash from illuminating the background.
The aim is to have bright smoke against an almost completely black background.
Creating the Smoke
The easiest way to get started is with an incense stick.
Place the incense stick in a stable holder and position it underneath the area where you want the smoke to appear.
You want a reasonably steady stream of smoke.
Don’t worry if the smoke initially rises almost vertically.
Once you start introducing small amounts of air movement, the smoke will begin to curl and change shape.
You can gently move your hand several feet away from the smoke to create small air currents.
You can also experiment with a small piece of card or paper.
The key is gentle movement.
You don’t want to blast the smoke with a powerful fan.
Positioning the Godox AD200
The positioning of the flash is probably the most important part of the whole setup.
You don’t want to point the AD200 directly at the smoke from the camera position.
Instead, place it to the side of the smoke.
A good starting point is around 90 degrees to the camera.
Think of the setup like this:
Black background → Smoke → AD200 → Camera
The flash should illuminate the smoke from the side while avoiding the background.
This gives you much more definition in the smoke.
My Starting Godox AD200 Settings
I’d start with the AD200 at:
1/16 power
You can then adjust the power depending on how bright the smoke is.
Try:
- 1/16 power — good starting point
- 1/8 power — if the smoke is too dark
- 1/4 power — if you need more light
You generally shouldn’t need to start anywhere near full power.
Using lower flash power also gives you a shorter flash duration, which is useful because the flash effectively freezes the movement of the smoke.
Sony A6400 Camera Settings
I’d start with the following settings:
| Setting | Starting Point |
|---|---|
| Shooting mode | Manual |
| Shutter speed | 1/200 sec |
| Aperture | f/8 |
| ISO | 100 |
| White balance | Flash |
| Focus | Manual |
| File format | RAW |
These are starting settings rather than rules.
Once you’ve got an exposure you’re happy with, you can concentrate on changing the position of the flash and manipulating the smoke rather than constantly changing the camera settings.
Why Use ISO 100?
ISO 100 keeps the image as clean as possible.
Because you’re using a powerful flash, there’s normally no reason to increase the ISO.
Keeping the ISO low also helps you get a nice deep black background.
If your smoke is too dark, I’d increase the AD200’s power before increasing the ISO.
Why Use f/8?
Smoke has a surprising amount of depth.
Parts of the smoke can be closer to the camera while other sections are further away.
Shooting around f/8 gives you considerably more depth of field than shooting wide open.
You can experiment between:
f/5.6 and f/11
depending on the effect you’re looking for.
If you want more of the smoke sharp, try f/8 or f/11.
If you want a little more separation and background blur, try f/5.6.
Using Manual Focus
Autofocus can struggle with smoke.
There’s no solid surface for the autofocus system to lock onto, and the smoke is constantly moving.
One simple solution is to place an object where the smoke will be.
A pencil works well.
Focus on the pencil and then switch the lens to manual focus.
Remove the pencil and start photographing the smoke.
Now the camera won’t constantly hunt for focus.
Using the Sony 55-210mm
The Sony 55-210mm is a useful lens for this project.
I’d start somewhere around:
100–150mm
This gives you plenty of working distance from the smoke and allows you to fill the frame without getting too close.
The longer focal length also helps isolate the smoke against the black background.
You can experiment with different focal lengths to change the composition.
Turn Off the Room Lights
This is another important part of the setup.
Turn off as much ambient light as possible.
That means:
- Ceiling lights
- Lamps
- Television screens
- Bright windows
- Other unnecessary light sources
The aim is to have the Godox AD200 doing almost all of the lighting.
This gives you much more control over the image.
Let the Flash Freeze the Smoke
Although you’re shooting at around 1/200 sec, the shutter speed isn’t necessarily what’s freezing the movement.
The flash duration of the AD200 is doing much of the work.
This is one reason flash is so useful for smoke photography.
The smoke can be moving quickly, but the very short burst of light can freeze the movement and reveal tiny details in the smoke.
Getting a Black Background
If your background isn’t completely black, don’t immediately start changing the camera settings.
Instead, look at your setup.
The most important things are:
Move the smoke further from the background
More distance helps keep the background dark.
Move the flash closer to the smoke
This allows you to illuminate the smoke without needing to illuminate everything else.
Angle the flash
Make sure the light isn’t pointing directly towards the background.
Reduce ambient light
A dark room makes everything much easier.
Experiment With the AD200 Position
Once you’ve got your basic setup working, start moving the AD200.
This can dramatically change the appearance of the smoke.
90 Degrees to the Side
This gives you strong definition and contrast in the smoke.
Around 45 Degrees Behind
This can produce a brighter edge around the smoke.
Almost Directly Behind
This can create a glowing smoke effect.
Low Angle
Positioning the flash lower can produce a completely different look and make the smoke appear more dramatic.
Don’t be afraid to experiment.
Adding Colour to Your Smoke
Once you’ve mastered photographing white smoke, you can start experimenting with colour.
One of the easiest ways is to use coloured gels on the AD200.
Try colours such as:
- Red
- Blue
- Green
- Purple
- Orange
The gel colours the light coming from the flash, which in turn colours the smoke.
This can produce much more dramatic photographs.
Try Two Flashes
If you eventually have access to a second flash, you can take the project even further.
For example:
AD200 #1 — Left side
AD200 #2 — Right side
You could use different coloured gels on each flash.
Blue and orange can produce a particularly interesting contrast, while purple and green can create a completely different effect.
Creating Your Own Smoke Shapes
One of the most enjoyable parts of smoke photography is trying to control the smoke.
You don’t have to simply photograph it as it naturally rises.
Try creating small air movements using:
- Your hand
- A piece of card
- A sheet of paper
- A small fan
Move the air gently and watch what happens.
You can create:
- Corkscrew shapes
- Loops
- Waves
- Spirals
- Large clouds
The smoke will never behave exactly the same way twice.
That’s part of the fun.
Shoot Lots of Photographs
Don’t expect to get the perfect photograph immediately.
Smoke changes shape extremely quickly.
You might take 200 photographs and only find 10 or 20 that you really like.
That’s completely normal.
Keep shooting.
Watch the smoke as it moves and look for interesting shapes.
The best photograph might only exist for a fraction of a second.
Experiment With Composition
Don’t automatically put the smoke directly in the middle of the frame.
Try different compositions.
Rule of Thirds
Place the smoke towards one side of the image.
Portrait Orientation
This works particularly well for tall smoke trails.
Square Crop
Great for abstract smoke photographs.
Lots of Negative Space
Leave large areas of black around the smoke.
This can produce a very dramatic minimalist photograph.
Editing Smoke Photographs in Lightroom
Once you’ve finished shooting, bring your RAW files into Lightroom.
There isn’t one correct editing recipe, but the following can be a good starting point.
Exposure
Adjust until the smoke is correctly exposed.
Contrast
Increase slightly to make the smoke stand out.
Blacks
Reduce the blacks to make the background darker.
Whites
Increase slightly to brighten the smoke.
Texture
Increase moderately to reveal more detail.
Clarity
A small increase can help reveal the structure of the smoke.
Dehaze
Try around +5 to +15.
Be careful with Dehaze because too much can make the smoke look unnatural.
Creating Black and White Smoke
Smoke can look fantastic in black and white.
Try converting your photograph to monochrome and then increasing the contrast.
Darkening the blacks while increasing the whites can produce a very dramatic result.
This works particularly well when the smoke has lots of twisting shapes and fine detail.
Colouring the Smoke in Photoshop
You can also create completely different versions of the same photograph in Photoshop.
For example, you can use:
- Gradient Maps
- Colour layers
- Blending modes
- Selective colour adjustments
This allows you to turn a simple white smoke photograph into a completely different piece of artwork.
My Recommended Starting Setup
If you’re trying smoke photography for the first time with the Sony A6400 and Godox AD200, I’d start here:
Camera: Sony A6400
Lens: Sony 55-210mm
Focal length: Around 100–150mm
Shutter: 1/200 sec
Aperture: f/8
ISO: 100
Focus: Manual
File: RAW
Flash: Godox AD200
Flash power: 1/16
Background: Black
Smoke: Incense stick
Flash position: Approximately 90° to the side
Room: As dark as possible
Once everything is working, leave the camera settings alone and start experimenting with the smoke and flash position.
Final Thoughts
Smoke photography is one of those projects where you don’t need an expensive studio or lots of equipment to create something that looks professional.
The Sony A6400 and Godox AD200 make a very capable combination for this type of photography.
The most important thing is experimentation.
Move the flash.
Change the distance between the smoke and background.
Change the way air moves around the smoke.
Try different lenses and focal lengths.
Add coloured gels.
And most importantly, take lots of photographs.
You never quite know what shape the smoke is going to create next.
For me, that’s one of the things that makes smoke photography so much fun.
📷 Photography Challenge
Why not turn this into your next photography challenge?
Try creating 10 completely different smoke photographs, with each image showing a different shape or idea.
Then take your favourite three and edit them in different styles — one natural, one black and white and one with colour.
You might be surprised at just how different the final images can look from the same basic setup.
Camera: Sony A6400
Flash: Godox AD200
Lens: Sony 55-210mm
Location: Home studio setup
Subject: Smoke
No responses yet