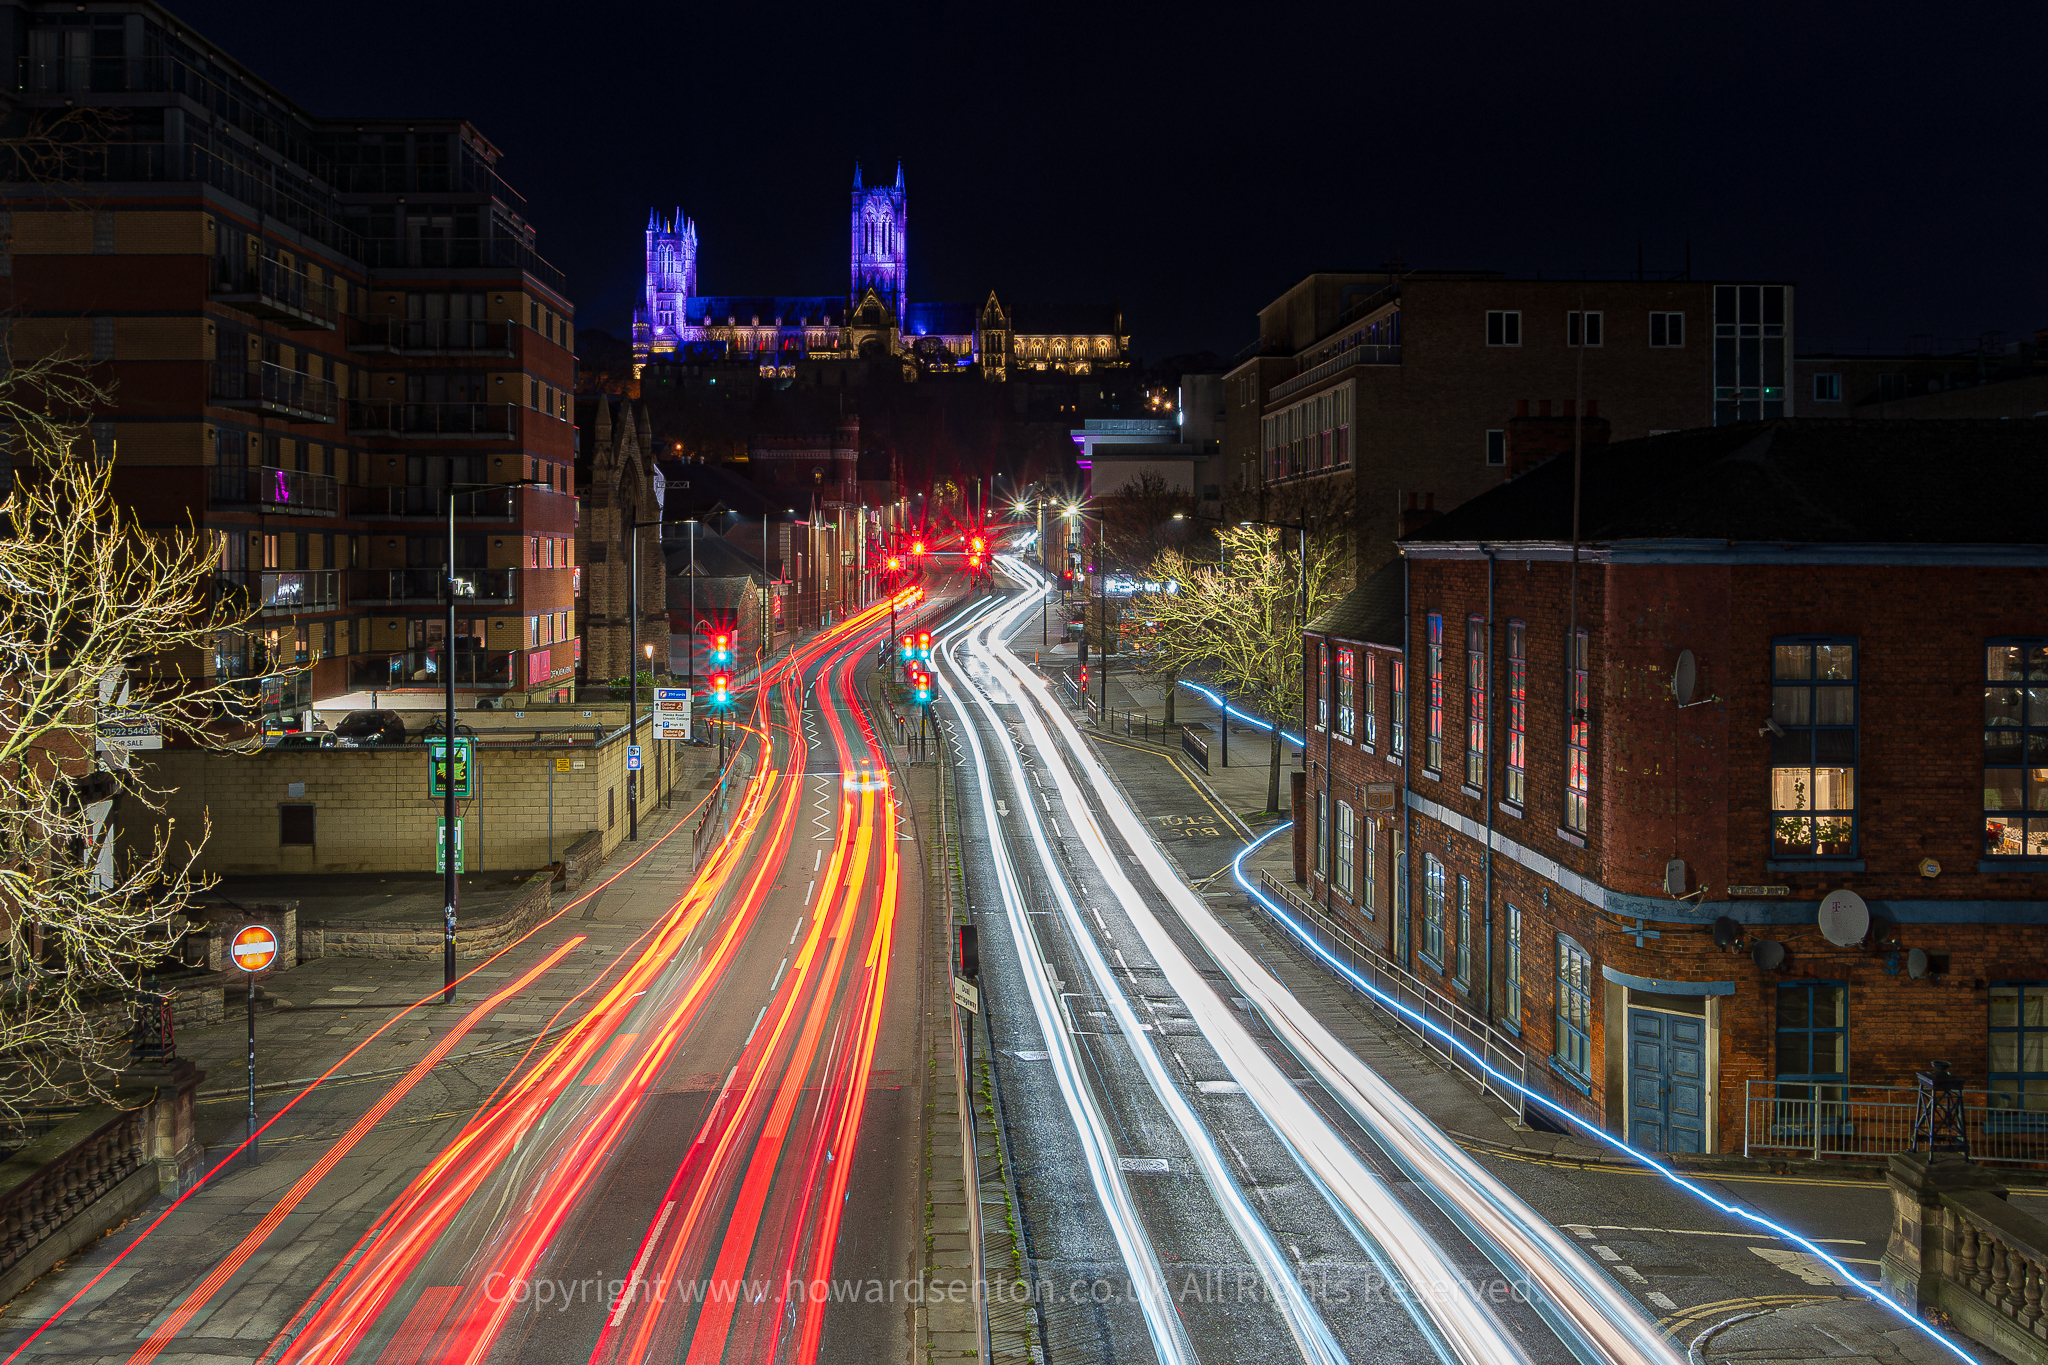
1. Use a tripod
A solid tripod is essential. Your shutter speed will usually be several seconds long, so hand-holding the camera won’t work.
Turn image stabilisation off if your camera/lens recommends doing so when mounted on a tripod.
2. Shoot after dark
The best time is usually:
- 30–60 minutes after sunset – great for keeping some colour in the sky.
- Full darkness – stronger, more dramatic light trails.
- Avoid extremely bright streets if you’re just starting.
Look for a road where cars regularly pass through your composition.
3. Start with these Sony settings
Since you’re using a Sony camera, try:
Mode: Manual (M)
Shutter: 5–15 seconds
Aperture: f/8
ISO: 100
Focus: Manual focus
White Balance: Around 3,500–4,500K
File: RAW
A good starting point is:
ISO 100 · f/8 · 8 seconds
Take a shot and look at the exposure.
4. Adjust the shutter speed
The shutter speed controls how long the light trails become.
| Shutter | Result |
|---|---|
| 1–2 sec | Short trails |
| 3–5 sec | Medium trails |
| 8–15 sec | Long dramatic trails |
| 20–30 sec | Very long trails |
If the road is busy, 5–10 seconds can produce lots of continuous trails.
If there isn’t much traffic, try 15–30 seconds.
5. Focus manually
Autofocus can struggle in darkness.
Before taking your final photographs:
- Focus on something illuminated in the distance.
- Switch the lens to MF.
- Don’t touch the focus ring afterwards.
If you’re using a wide-angle lens, you can often focus around the hyperfocal distance rather than focusing directly on the cars.
6. Use the right composition
Don’t just point the camera at the road.
Try positioning yourself so the road leads into the photograph.
For example:
Road → light trails → interesting building/bridge/landmark
You can also get very good results from:
- Bridges
- Roundabouts
- Junctions
- Curving roads
- Roads going downhill
- City centres
- Car parks
- Coastal roads
7. Shoot low
Getting the camera closer to the ground can make the light trails look much more impressive.
A low viewpoint can make the trails appear to sweep through the entire foreground.
8. Try different traffic directions
Cars travelling towards you normally create white headlights.
Cars travelling away from you create red taillight trails.
If you can photograph both directions, you can get red and white trails crossing through the composition.
9. Use a remote or timer
Pressing the shutter button can shake the camera.
Use:
- 2-second self timer
- 5-second self timer
- Sony remote control
- Smartphone remote shooting
The 2-second timer is perfectly adequate for most situations.
🌟 Try a more advanced technique
Once you’ve got the basic shots working, try bulb/long exposure photography.
For example:
ISO 100
f/11
20–30 seconds
This can produce extremely smooth continuous trails.
You can also deliberately include something static in the foreground — a railing, building, tree or person — while allowing the traffic to turn into streaks of light.
A great starting setup for your Sony A6700
I’d start with:
RAW
Manual mode
ISO 100
f/8
8 seconds
Manual focus
2-second timer
Tripod
Then adjust the shutter speed between 5 and 15 seconds depending on traffic.
One important safety point: don’t stand in the road or position yourself somewhere dangerous just to get the shot. Find a safe pavement, footbridge, viewpoint or other legal position.
No responses yet